Autumn Bakes: 'Lemon' and Stitch Cupcakes!
Following on from my recent Autumn post, I have been doing a lot of baking! I've been seriously on it; it's something about the Autumn Weather!
So far, I have baked three large Millionaire's Shortbreads, a White Chocolate and Orange Sponge Cake and the following...
A little Disney-inspired creation that I wanted to share with you.
I hope you enjoy this post! And let me know if this recipe inspires you to get baking...
Lemon and Stitch Cupcakes
(Recipe makes 8 large, American-style cupcakes)
 |
| My Sister is crazy about Stitch so I knew exactly what I needed to bake for her 17th Birthday... |
Cupcake Ingredients:
110g Butter or Margarine (I use Stork Baking Butter)
110g Caster Sugar
2 Eggs, lightly beaten
1.5tsp of Lemon Extract
110g Self-Raising Flour
1-2tbsp Milk (I use Semi-Skimmed but you could use Skimmed, Soy or Almond!)
Vanilla Buttercream Icing Ingredients:
140g Butter
280g Icing Sugar
1tbsp Milk (Optional! Read on...)
1tsp Vanilla Extract
Blue Food Colouring (I opted for a metallic, pearlised colouring from Steamer Trading)
Decoration:
8 Cupcake Cases
Edible Stitch Cupcake Toppers (I got these from Etsy!)
Edible White Pearlised Balls (Available from most Supermarkets!)
Method:
1. Preheat your oven to 180C and line your muffin/cake tin with paper cupcake cases.
2. Cream the butter and sugar together in a bowl until well mixed. I use an electric hand whisk to ensure that the mixture isn't grainy but you can do this by hand. Beat in the eggs a little at a time and stir in your lemon extract.
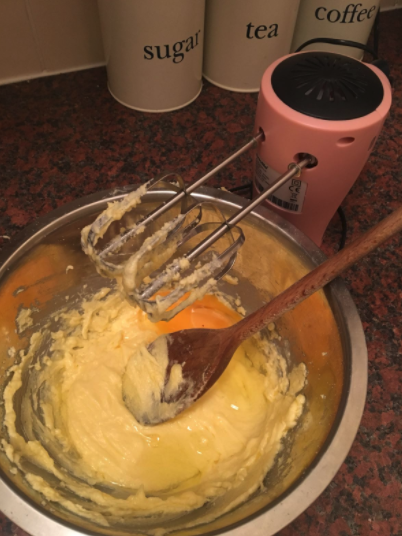 |
| I like to use a hand whisk to ensure that my mixture isn't lumpy at this stage! |
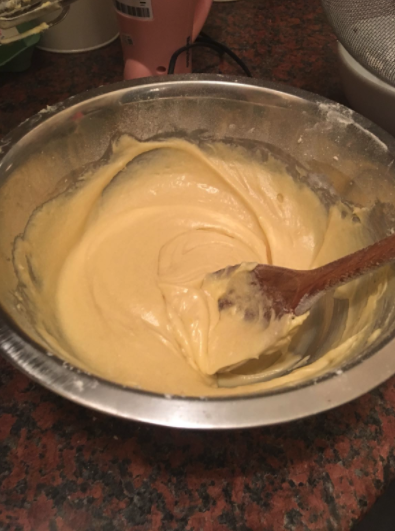 |
| After a little mix with the hand whisk, the mixture is perfect for the next stage! |
3. Fold in the flour, adding a little milk until the mixture is of dropping consistency. Spoon the mixture into the paper cases until they are equally full. I use two metal dessert spoons to help spoon my mixture into the cases.
 |
| They are ready for the oven! Hidden Mickey anyone? |
4. Bake the cupcakes in the oven for 10-15 minutes, or until golden-brown and you can insert a chopstick (or whatever you have lying around!) into one of the cakes and it comes out clean. Set them aside to cool for about 10 minutes and then remove them from the tin to cool a little more.
5. For the buttercream icing, beat the butter in a large bowl until soft. Add half the icing sugar and beat until smooth. Again, use a hand whisk to aid you to ensure a smoother texture.
6. Add the remaining icing sugar. Lots of people advise that when making your icing, you should add 1 tbsp of milk or more if necessary to ensure that the mixture is smooth and creamy HOWEVER, when I was baking last, it was very warm in my Kitchen and my icing was far too runny! I would say don't worry too much about adding milk to your buttercream - judge it by eye!
 |
| Make sure not to add too much milk to your buttercream or it will be runny, like mine! It's difficult to correct once you have added too much... |
7. Add your food colouring and vanilla extract and combine well.
8. Spoon the icing into a piping bag with a star nozzle and pipe the icing using a spiralling motion onto the cupcakes in a large swirl.
9. Finish off by decorating with white pearlised balls and edible Stitch decorations.
 |
| As you can probably see, my buttercream was a little runnier than I would have liked! But they tasted good and My Sister was super happy with them! |
